Solar Panel Installation: From Site Survey to Switch-On
Last checked · JH Solar guide
Solar panel installation is more than bolting panels to a roof. It starts with a site survey and a roof check, moves through mounting, wiring and permits, and ends with a switch-on test and a handover of your documents. Each step decides how safe, strong and productive your system will be for years.
This guide covers the whole journey for Philippine homes and small businesses, from roof checks and typhoon mounting to permits, install day and upkeep.
What Solar Panel Installation Involves
A complete solar panel installation has two halves. The mechanical half puts panels on a strong, sealed mount that faces the sun. The electrical half connects those panels to an inverter, a battery if you have one, your panel board and, for grid-tied or hybrid systems, the utility meter.
Between those halves sit planning and paperwork. Before anyone climbs your roof, the system should already be sized from your bill: you can work out your system size with our solar computation tool, so the installer knows how many panels must fit.
Solar Panel Installation in the Philippines: Why Plan It Carefully
People look up solar panel installation in the Philippines because of rising bills, frequent brownouts, or a quote they want to understand. The benefits are real. A well-installed system can cut the energy you buy from the grid during the day, and with a battery it can keep lights, fans and a ref running through an outage.
The risks are real too: a poor mount can lift off in a typhoon, a badly sealed hole leaks, and missing surge protection lets lightning damage parts. Results also depend on shade, weather and usage, so no honest installer can promise a fixed saving.
Step 1: Site Survey and Shading Check
Every solar panel installation should begin with a visit, in person or at least with clear photos and measurements. The installer checks the roof area, how to get panels up safely, where the inverter and battery will sit, and how far the cables must run to your panel board.
Shade matters most. Trees, a neighbor's second floor, water tanks and parapet walls can shade part of the array, and shade on one panel can pull down others in the same string.
- Look at the roof in the morning, at noon and in the afternoon, and note where shadows fall.
- Check your area's sunshine on the Global Solar Atlas map of solar resources; peak sun hours in the Philippines are typically about 3.5 to 5 hours a day depending on place and season.
- Mark the spot for the inverter: shaded, ventilated, dry and easy to reach for checks.
Roof Assessment by Roof Type
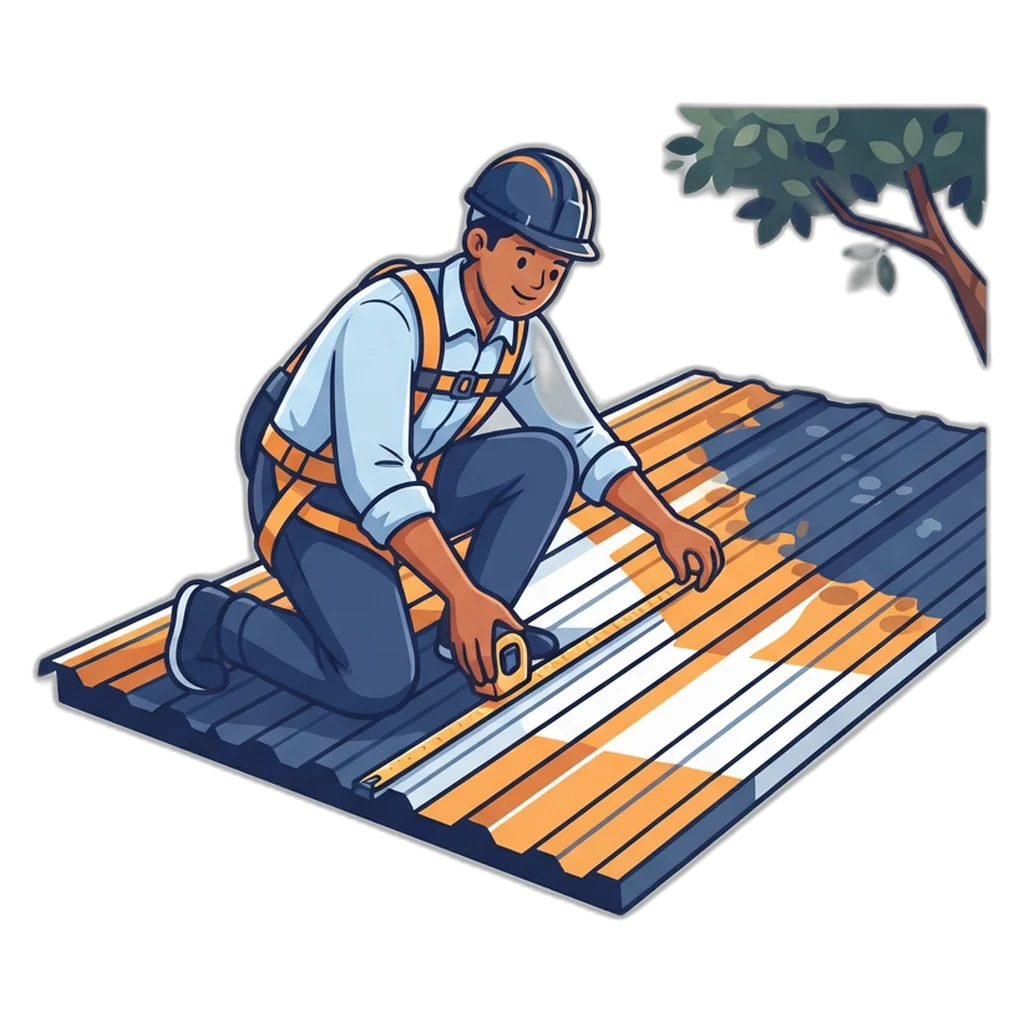
The roof carries the panels for their whole working life, so the installer must check its type, age and condition before planning any solar panel installation. Panels and rails add weight, and every anchor point is a place where water could get in.
| Roof type | What to check | Usual mounting approach | Warning signs |
|---|---|---|---|
| Corrugated metal / GI sheet | Sheet thickness, rust, loose or missing screws, purlin spacing and strength | Rails fixed through the sheet crests (not the valleys) into the purlins with sealed fasteners, or clamps on standing-seam profiles | Rust holes, soft spots, old leaks, sagging between purlins |
| Clay or concrete tile | Cracked or brittle tiles, batten condition, roof pitch | Tile hooks under lifted tiles fixed to rafters, then tiles refitted around the hook | Many cracked tiles, tiles that break when stepped on |
| Concrete deck (flat roof) | Waterproofing layer, drainage, ponding water, slab condition | Tilted frames on anchored or ballasted bases, with the waterproofing repaired around each anchor | Cracks, ponding after rain, peeling waterproofing |
| Any older roof | Age, past repairs, how long before it needs replacing | Repair or replace first if the roof will not outlast the panels | Stains on the ceiling, visible daylight through sheets |
General guide only. The installer should inspect your actual roof and follow the mounting maker's instructions.
Orientation and Tilt
The Philippines is north of the equator, so panels generally face south to catch the most sun across the year. East- and west-facing roofs still work, with output shifted toward morning or afternoon.
A common rule of thumb is a tilt near your latitude, which in the Philippines means a fairly gentle angle. Do not lay panels completely flat: a slope lets rain wash dust, leaves and bird droppings off the glass. On sloped roofs, panels usually follow the roof pitch; on flat concrete decks, frames add the tilt.
During solar panel installation planning, the installer balances angle against roof space, wind exposure and shade. A slightly less ideal angle on a strong roof beats a perfect angle on a weak one.
Typhoon-Ready Mounting
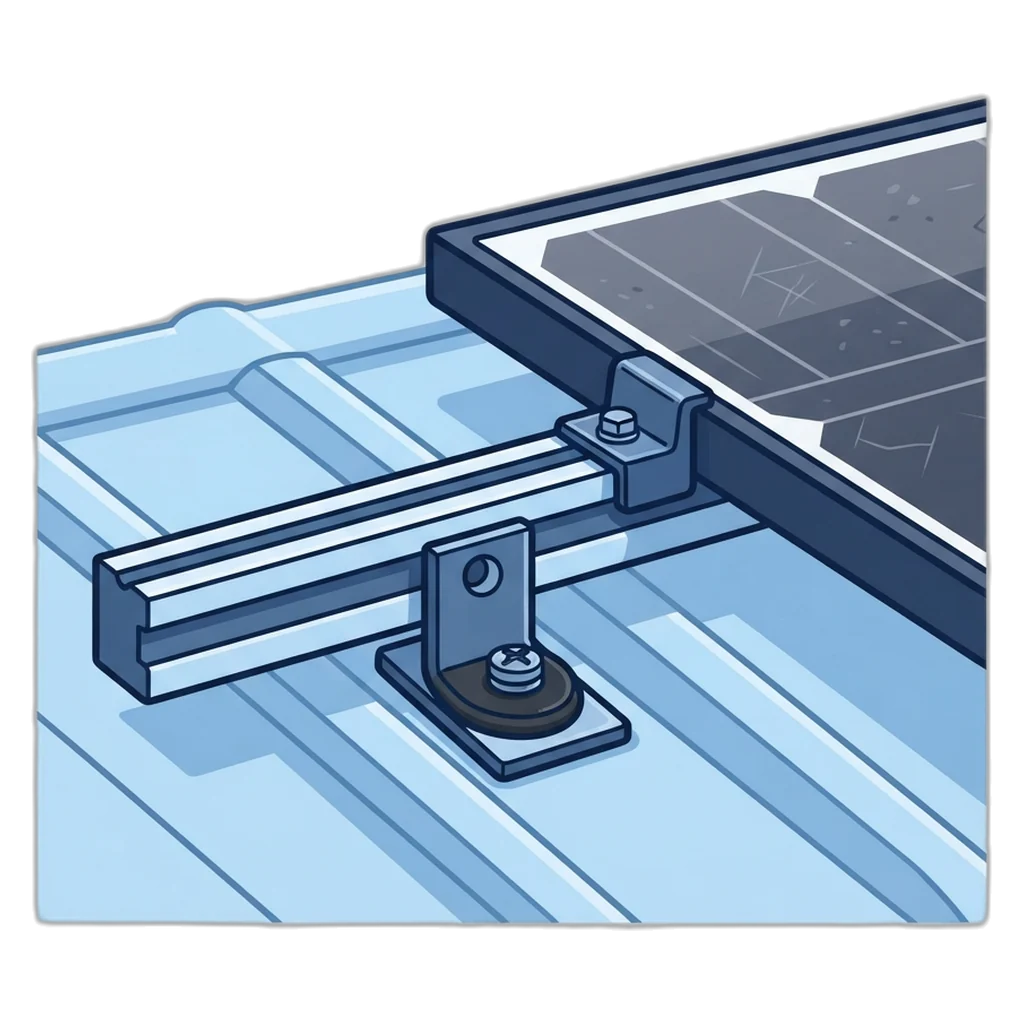
The mounting system is where typhoon safety is won or lost. A solid solar panel installation uses aluminum rails, stainless or coated fasteners, roof anchors fixed into the structure (not just the roof sheet), and clamps that hold each panel at the points the panel maker allows.
- Follow the ratings. Use parts with stated wind-load ratings, installed exactly as the mounting maker specifies.
- Mind the edges. Wind uplift is strongest near roof edges, corners and ridges, so panels are kept back from them where possible.
- Seal every hole. Use sealing washers, flashing or roof-grade sealant suited to the roof type.
- Use the right metals. Some metals corrode when they touch each other, especially near the sea, so use compatible fasteners or isolating washers.
PAGASA raises tropical cyclone wind signals when storms approach; you can read what each signal means on the PAGASA tropical cyclone information page. Ask your installer which wind conditions the mount was chosen for, and inspect it after every strong storm.
The Electrical Side: Isolators, Surge Protection and Grounding
Once the panels are on, the wiring brings their power safely indoors. This is work for a licensed electrician: a registered master electrician (RME) or professional electrical engineer (PEE) following the Philippine Electrical Code, which is published by the Institute of Integrated Electrical Engineers of the Philippines (IIEE).
- PV cables and connectors: solar-rated cable and matched connectors, routed in conduit.
- DC isolator: a switch that disconnects the panels from the inverter for service. It does not make the panels themselves safe; they still produce voltage in daylight.
- Surge protection: surge protective devices on the DC and AC sides help protect the inverter from lightning and grid spikes.
- Breakers and fuses: sized for the cable and equipment, on both the DC and AC sides.
- Battery protection: with a separate battery, a fuse or DC breaker close to the battery positive terminal, sized for the cable.
- Grounding: the frames, rails and equipment are bonded and connected to a proper grounding system.
- String design: panels in each string must stay within the inverter's voltage and current limits, including on cool mornings when panel voltage rises. Our solar inverter selection guide explains these input limits.
How these parts connect depends on the system type: each setup diagram guide shows where every breaker and isolator sits between panels, battery, grid and backup loads.
Permits and Documents
Paperwork depends on whether your system connects to the grid. Rules differ by LGU and utility, so check the current requirements before work starts (as of October 2026).
- Electrical permit from the LGU: usually filed by your licensed electrician before the electrical work.
- Certificate of Final Electrical Inspection (CFEI): issued after the finished work is inspected.
- For net metering: an application to your distribution utility, a Certificate of Compliance (COC) issued by the ERC, and a net-metering agreement. Meralco lists the steps on its net metering FAQ for residential customers; electric cooperatives handle it for their own members.
- Local rules: homeowners associations, subdivisions and condominiums may need their own approval for roof work.
For a full walk-through of export and the bidirectional meter, see our on-grid solar and net metering guide.
Install Day, Step by Step
With the design approved and parts on site, the physical solar panel installation follows a set order. The pace depends on the roof, the crew and the weather.
Step 1: Safety setup
The crew sets up ladders, roof anchors and harnesses. Work stops in rain or strong wind.Step 2: Mark and fix the anchors
Anchor points are marked on the purlins or rafters, drilled, sealed and fixed.Step 3: Fit rails and check alignment
Rails are bolted to the anchors, leveled and squared so panels sit flat and clamps grip properly.Step 4: Lift and clamp the panels
Panels are carried up carefully, never by the cables, and clamped at the maker’s allowed points.Step 5: Wire the strings
With the DC isolator kept open, panels are connected into strings, cables are tidied and protected, and each string is labeled.Step 6: Mount the inverter and battery
The inverter, battery or all-in-one cabinet goes on a solid wall or floor in a dry, shaded, ventilated spot.Step 7: Install protection and connect
The licensed electrician fits the DC isolator, breakers, surge protection and grounding, then connects to the panel board.Step 8: Test before switch-on
String voltages and polarity are checked before the inverter is turned on and set up.
Solar Panel Installation Timeline: Who Does What
Approvals make the full timeline longer than install day. Stage lengths depend on permits and your utility, so read this as an order of events.
| Stage | Who does it | What you do |
|---|---|---|
| Sizing from your bill | You and the installer | Share recent bills and the loads you want on backup |
| Site survey and roof check | Installer | Give roof access and point out leaks or old repairs |
| Design and written quote | Installer and licensed electrician | Read every line; ask what is and is not included |
| Electrical permit | Licensed electrician with the LGU | Sign forms and provide property documents if asked |
| Mounting and wiring | Installer crew and licensed electrician | Keep the area clear and children and pets away |
| Inspection and CFEI | LGU electrical inspector | Be available for the inspection visit |
| Net-metering application (if grid-tied) | You, the installer and your utility | Sign the application and agreement; wait for meter work |
| Commissioning and handover | Installer | Learn the app and shutdown steps; collect all papers |
Durations depend on permits, your utility and the weather. Ask your installer for a realistic estimate for your area.
What Goes Into the Cost
The solar installation cost is more than the price of panels. A fair quote lists each part so you can compare offers line by line:
- Solar panels, and the inverter, battery or all-in-one unit
- Mounting rails, anchors, clamps and roof sealing
- PV cable, conduit, connectors, breakers, surge protection and grounding
- Labor for mounting, wiring and commissioning
- Permits, inspection and, if you export, net-metering processing and meter work
- Roof repairs found during the survey, and a small allowance for surprises
For price-per-watt math and how to read quotes, see our solar panel price breakdown. If you buy a JH Solar all-in-one system, the package includes mounting rails and roof hardware, the electrical parts, and labor for installation and commissioning. The unit alone is ₱120,000 for Version 1 or ₱150,000 for Version 2, unit only; panels, mounting, wiring, labor and permits are quoted after a site assessment. Version 1 uses 6 panels of 620 W and Version 2 uses 14 of 720 W, so roof space is one of the first things we check.
Commissioning and Handover Checklist
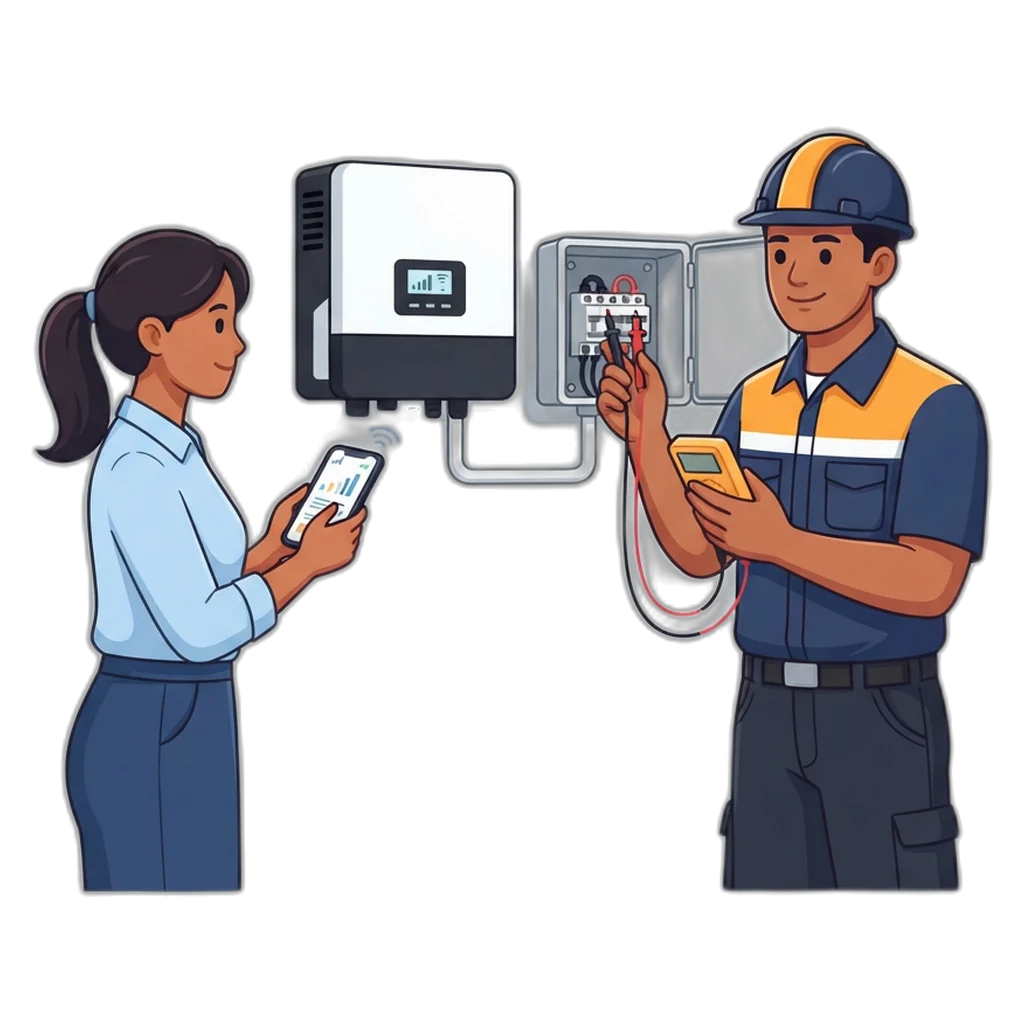
Commissioning proves the system works before the crew leaves. Use this list at the end of your solar panel installation.
| Item | What should happen | Done? |
|---|---|---|
| String checks | Voltage and polarity measured and recorded for each string | ☐ |
| Grounding | Frames, rails and equipment bonded; ground connection checked | ☐ |
| Protection | Isolator, breakers and surge devices installed and labeled | ☐ |
| Inverter setup | Correct grid settings, battery type and export setting entered | ☐ |
| Backup test | If you have a battery, a simulated outage shows backup loads stay on | ☐ |
| Monitoring | App or portal connected and showing live output on your phone | ☐ |
| Shutdown steps | You are shown how to switch off safely, in the right order | ☐ |
| Documents | As-built diagram, permits, warranty cards and serial numbers handed over | ☐ |
| Roof and site | Holes sealed, debris removed, no loose cable ties or offcuts left | ☐ |
Keep a photo of the signed checklist with your warranty papers.
Maintenance Schedule
Solar systems need little work, but not none. Dust, heat, salt air and storms all take a toll, and a simple routine after your solar panel installation catches problems early.
| Task | How often | Who |
|---|---|---|
| Check output in the app | Every few days; compare with similar weather | Owner |
| Respond to inverter or battery alerts | As soon as they appear | Owner, then installer |
| Clean the panels | Every few months, more often in dusty or coastal areas or long dry spells | Owner only if reachable without climbing on the roof; otherwise installer |
| Visual check from the ground | Every few months | Owner |
| After-typhoon check | After every typhoon or strong storm | Owner from the ground, installer on the roof |
| Professional inspection | Regularly, as your installer or warranty recommends | Installer or licensed electrician |
Follow the maintenance terms in your warranty; some require specific checks.
If output drops without a weather reason, look for shade, dirt, a tripped breaker or an alert.
DIY vs Hiring an Installer
A small off-grid kit for lights and phone charging can be a reasonable DIY project on the DC side. Our small off-grid system guide covers fuses, breakers, cable sizes and grounding for that kind of build.
A rooftop system that connects to your panel board or the grid is different. AC-side wiring, grid connection and net metering must be done by a licensed electrician. DIY there can void warranties, fail inspection or cause a fire.
If you hire help, compare providers with our checklist for choosing a solar installer.
On Your Phone: Monitoring and Warranty Photos
- Install the inverter's monitoring app during handover and test the login before the crew leaves.
- Turn on alert notifications so faults reach you even when you are away.
- Photograph the roof, anchors, rails, wiring, labels and serial numbers before panels hide them.
- After storms, take dated photos from the ground for any warranty or insurance claim.
Philippine Weather, Brownouts and Your Utility
Local conditions shape every solar panel installation here. Heat lowers panel output, so a ventilated gap under the panels helps, and inverters need shade and airflow. The rainy season brings cloudy weeks with lower output, while dry months can leave dust on the glass.
Brownouts matter too. A grid-tied inverter shuts down during a brownout to protect line workers, so a system without a battery gives no backup power. Whether you are with Meralco or an electric cooperative, check its net-metering steps before you sign.
Safety and Electrical Reminders
- Roof work is the biggest risk. Use harnesses, roof anchors and stable ladders, and never work on a wet roof.
- Falls through skylights, old GI sheets and brittle tiles are common. Step only on purlins or proper walk boards.
- DC is never fully off in daylight. Opening the isolator stops current to the inverter, but the panels and their cables still carry voltage while light hits them.
- Never pull a connector under load; switch off at the inverter and isolator first, as the manual says.
- Do not climb up during or right after a storm. Wait until PAGASA lifts the wind signal for your area, then check from the ground first.
Solar panels make DC power whenever light hits them, and batteries hold enough energy to start a fire if they are shorted. Work on the grid side, the AC panel board or a net-metered system belongs to a licensed electrical practitioner following the Philippine Electrical Code. Our numbers are estimates, not a design or a quote.
Solar Panel Installation FAQ
Can solar panels go on an older GI sheet roof?
Sometimes, but the roof must be checked first. If the sheets are rusty, thin or leaking, or the purlins are weak, it is usually better to repair or replace that part of the roof before mounting panels. Removing panels later to fix the roof adds labor and risk.
Will drilling for roof mounts cause leaks?
Every hole is a possible leak, which is why good installers fix anchors into the purlins or rafters, use sealing washers or flashing made for the roof type, and seal every penetration. Ask how they seal the holes and check the ceiling after the first heavy rain.
Do I need to take the panels down before a typhoon?
A properly mounted array is designed to stay on the roof. Removing panels in a hurry is dangerous and can damage them. Before the storm, secure loose items around the house. After it passes, check from the ground first and call your installer if anything looks loose or bent.
Can I switch the system on before net metering is approved?
Do not export power to the grid until your utility approves the connection and installs the right meter. Some hybrid setups can be set so they do not export at all. Rules change (the ERC amended its net-metering rules in 2025), so ask your installer and your utility what is allowed for your case.
How should I clean my solar panels?
Use plain water and a soft brush or sponge, early in the morning or late in the afternoon when the glass is cool. Do not use a pressure washer, harsh chemicals or anything abrasive, and never walk on the panels. If you cannot reach them from the ground or a safe platform, let your installer do it.
What papers should I keep after the installation?
Keep the signed quote, the as-built wiring diagram, your electrical permit and CFEI, any net-metering documents, the panel and inverter serial numbers, warranty cards, the monitoring app login and photos of the finished work. Store copies on your phone and on paper.
Conclusion
A good solar panel installation is a chain of careful steps: survey and shade check, a sound roof, a mount built for typhoon winds, wiring by a licensed electrician, permits in order, and a proper handover. Skip one link and the rest of the system pays for it.
Start by sizing your needs from your bill, ask for a site assessment, and keep your documents and photos safe. After switch-on, a glance at the app and a check after each typhoon keep the system working.
Plan your solar installation
Size your system from your electric bill first, then ask us for a site assessment and a written quote.
Related Guides
- JH Solar HomeStart here: JH Solar systems and every guide on one page.
- Solar Panel Price PhilippinesPanel, battery and installation costs, line by line.
- Best Solar InstallersPick a provider, or a budget option, without regrets.
- Solar Setup DiagramRead any solar diagram and pick the setup that fits you.
- JH Solar ProductsOur two all-in-one units, side by side.